-40%
Battery Cable Ends Lugs, Copper Ring Terminals, Wire Connectors w Solder Pellets
$ 0.54
- Description
- Size Guide
Description
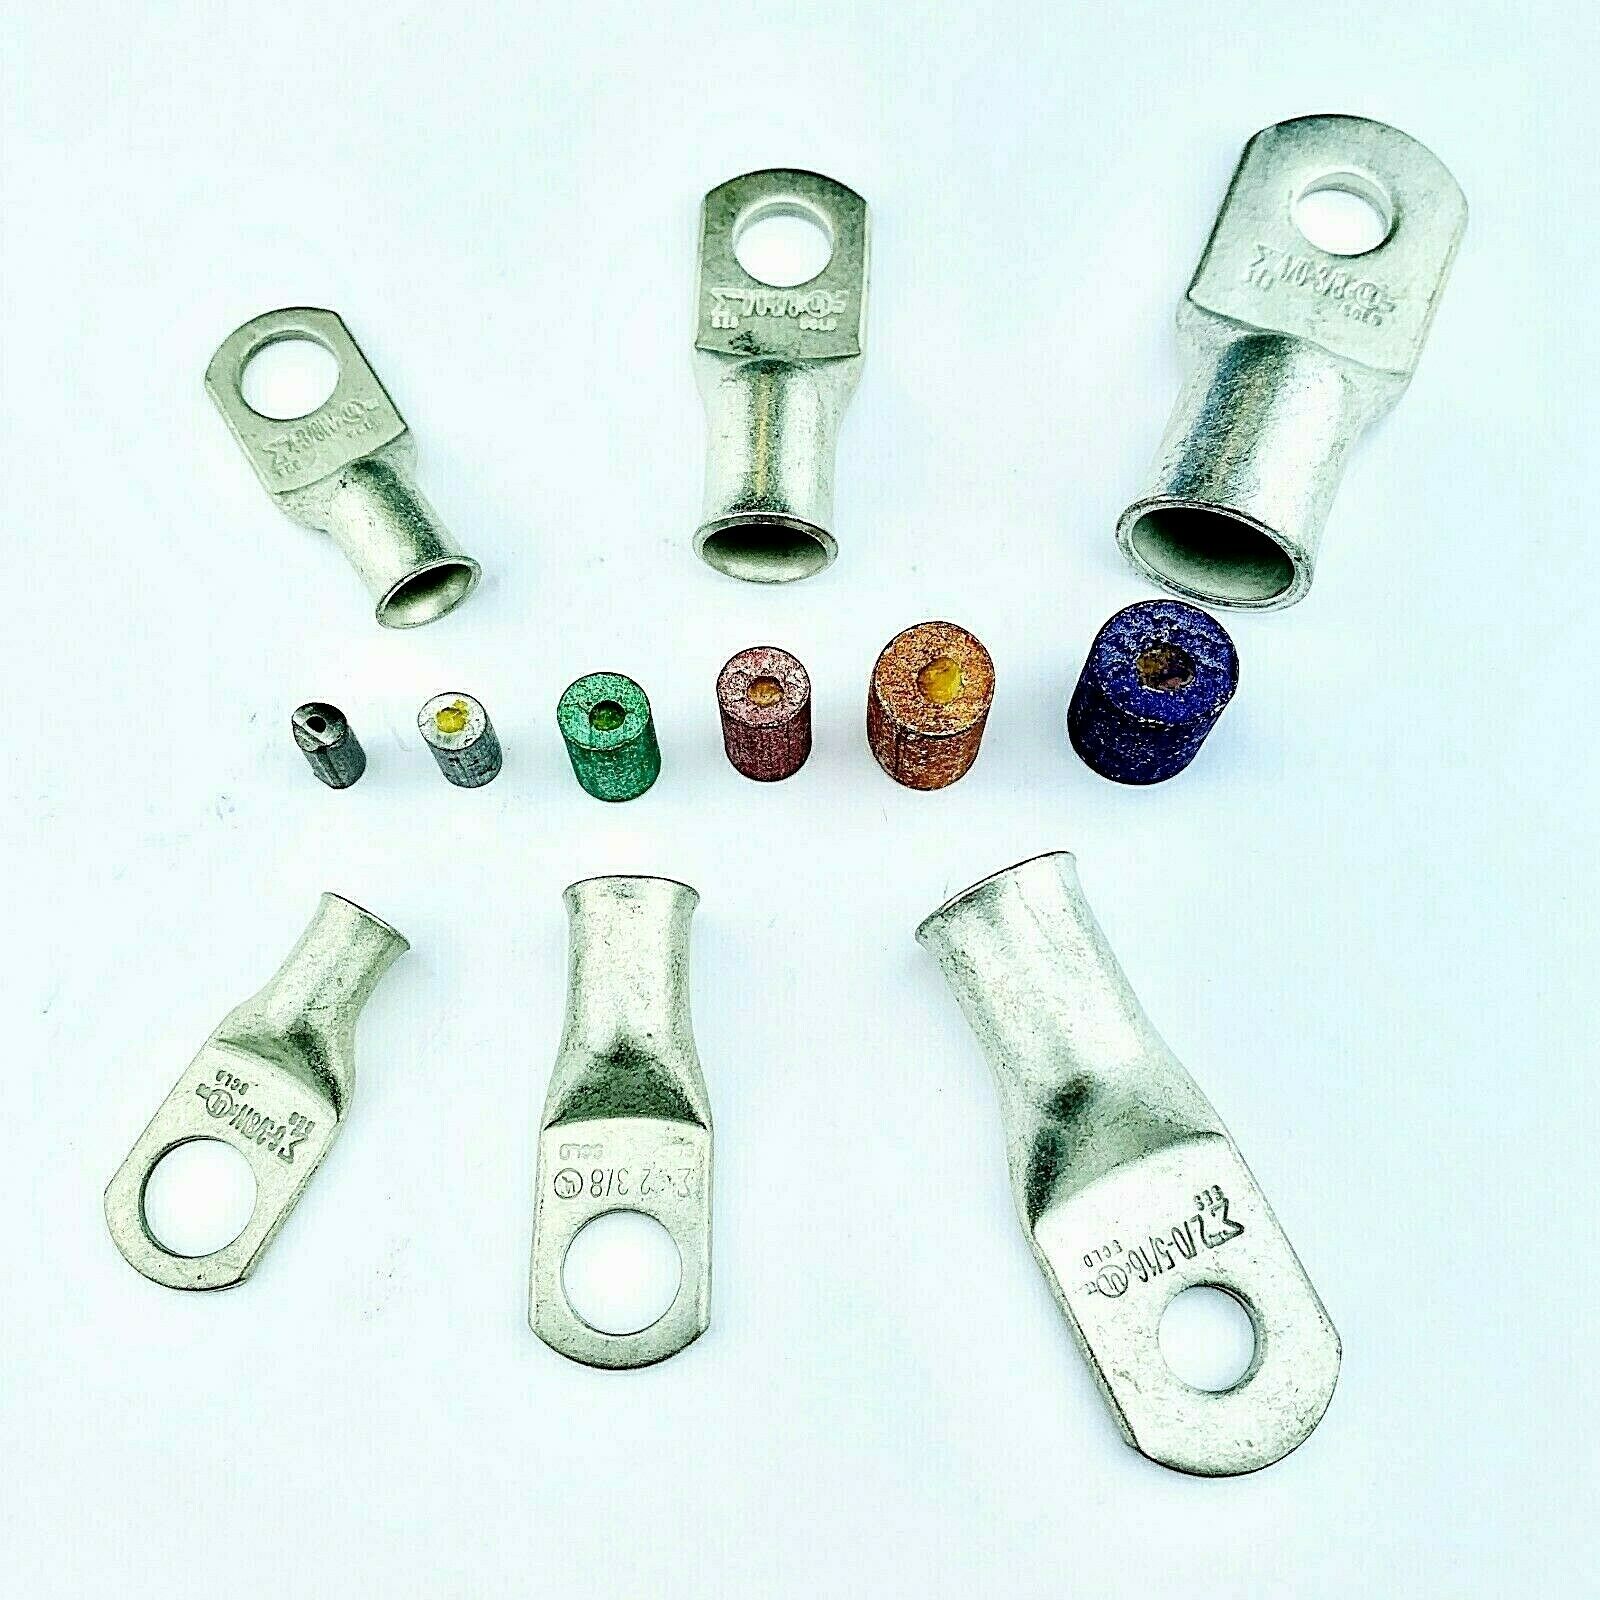
The lugs in this listing include a solder slug pellet for each lug ordered. The pre-measured rosin core solder allows you an alternative to crimping. You choose the wire size, the bolt size and the quantity that you need.We also have the
CL-Flux
which is recommended to aid in the cable soldering available in our store as well. A few drops on the cable strands before inserting into the melted solder really help the solder to flow around the strands and form a nice bond.
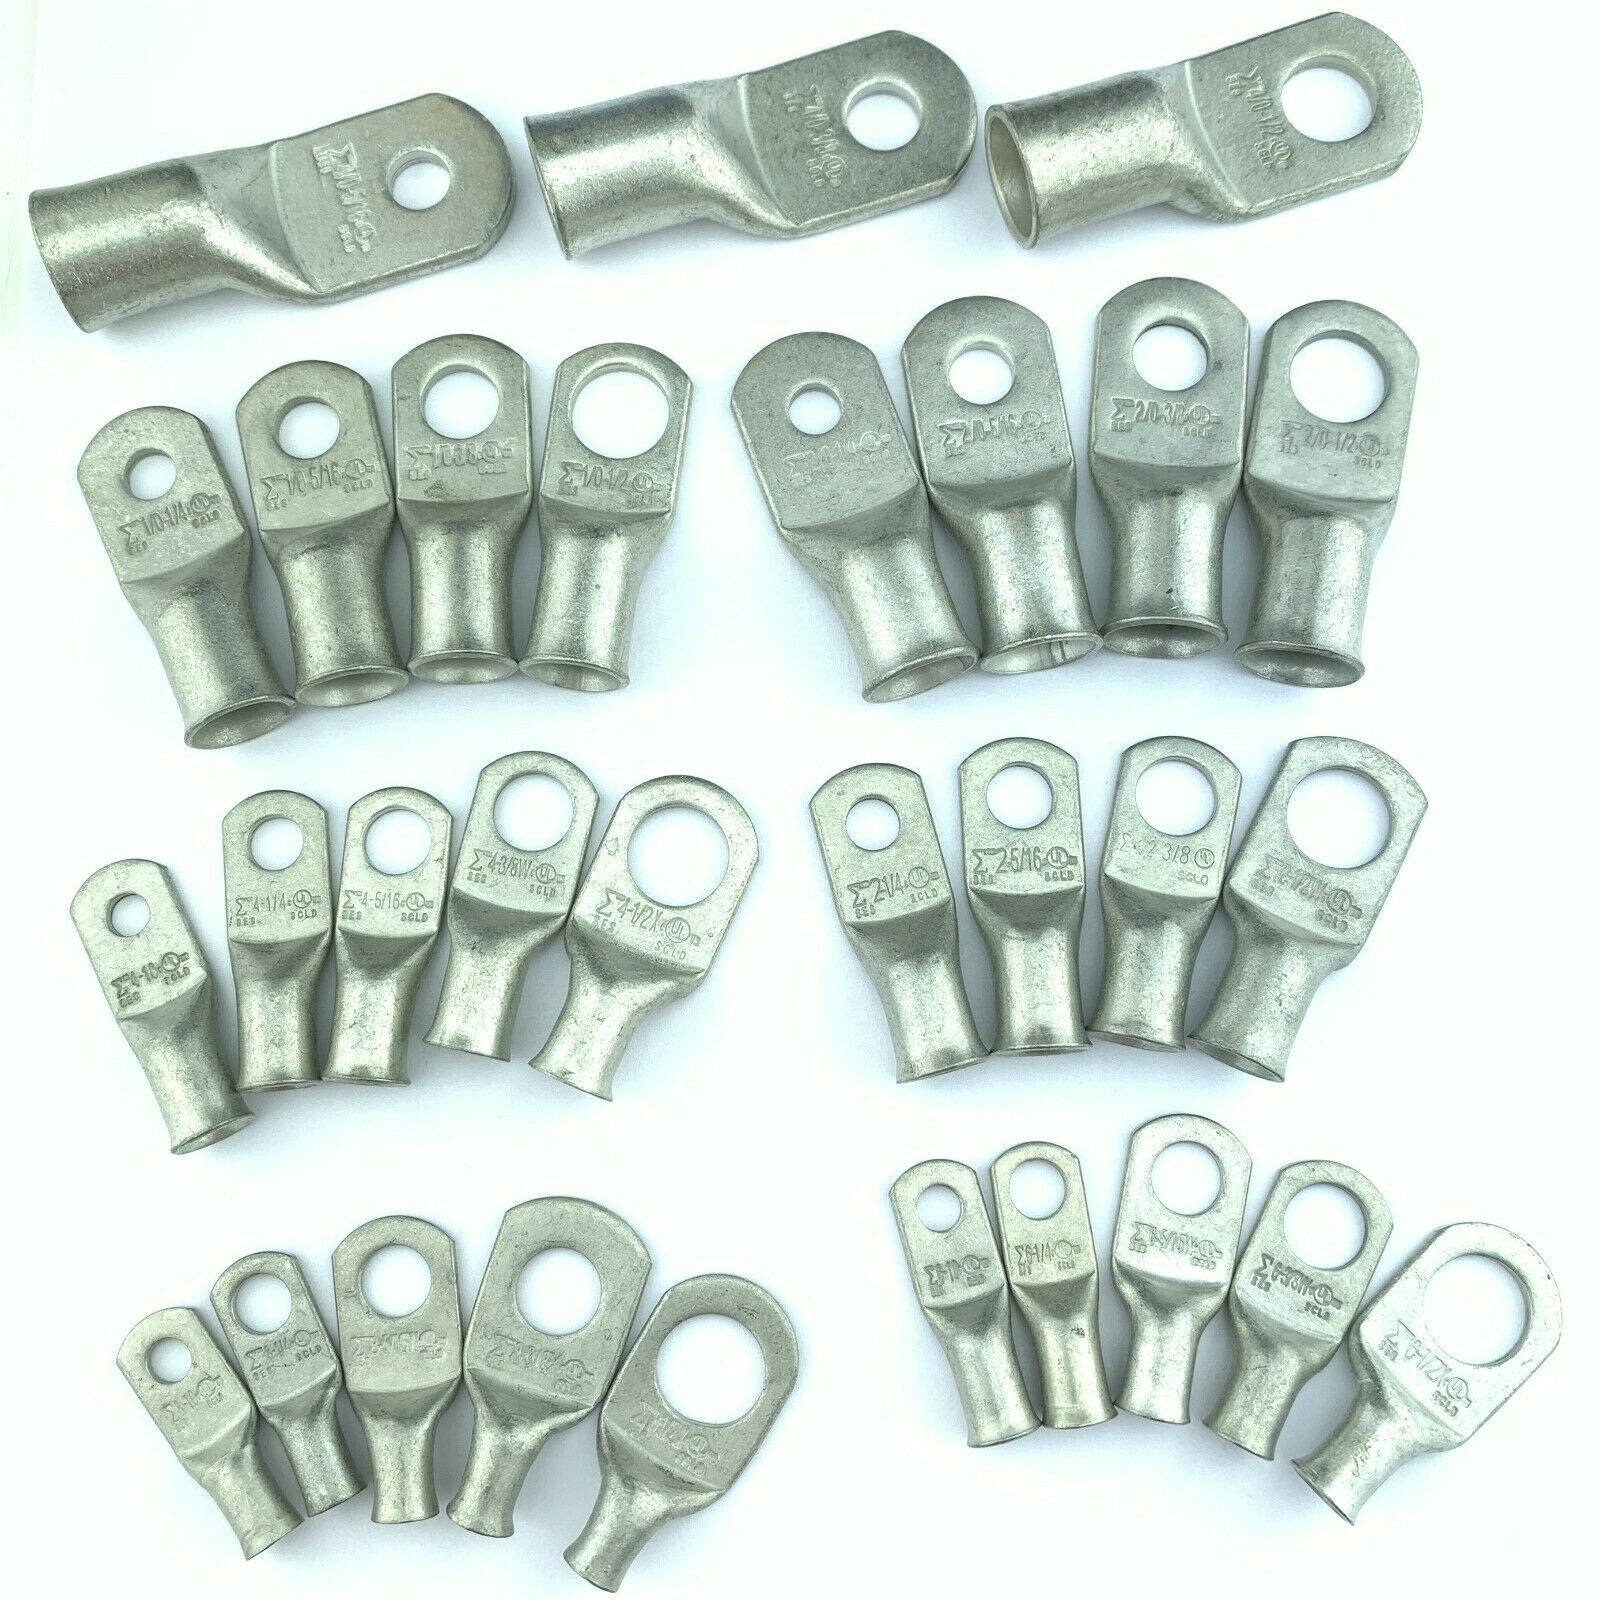
Heavy Duty Seamless Copper Starter Lugs combine pure copper construction with a seamless pad to provide the ultimate performance in strength, conductivity and corrosion resistance. The lug design and features a flared and chamfered barrel to facilitate cable insertion. These lugs are sized and designed to work with flexibly stranded copper wire and cable such as welding cable, marine battery cable, UL Listed battery cables, SAE battery cables, entertainment cable, diesel locomotive cable, and other similar flexible cables.
UL Listed/CSA Certified
Pure Copper - 99.9% Conductive ETP Copper
Tin Plated to Resist Corrosion
Various Sizes available
You choose the size and package quantity
Can be crimped or soldered (solder pellets are included with your order in this listing!)
The hole sizes on the lugs are sized to fit the bolt of the same size so a 5/16 hole lug will fit a 5/16 inch bolt etc. The 5/16 lugs will also fit M8 metric as will the 3/8 lugs fit the M10 size metric bolts.
Also keep in mind the sizes of cables go from smaller to larger as so:
18 AWG Smaller
16 AWG
12 AWG
10 AWG
8 AWG
6 AWG
4 AWG
2 AWG
1 AWG
1/0 AWG
2/0 AWG
3/0 AWG
4/0 AWG Larger
A side note about copper clad aluminum cable some of you are using...If you are using cheap CCA wire (copper clad aluminum) the sizes of that aluminum cable will be larger than copper since aluminum can't carry the same current as copper and therefor the cable size they use, while the same in name, will be larger than the copper awg size and will likely not fit in the same size lug. You'll need a size or maybe 2 larger...just ask us and we can help you figure it out. Again, these quality lugs are designed to be used on quality copper wire only.
SOLDER PELLET INSTALLATION INSTRUCTIONS
1. Using the proper sized cable, measure the amount of insulation to be stripped by placing the cable next to the
length of the barrel. Mark the cable with your thumb at the point where it meets the end of the open barrel.
2. Strip the cable using a cable stripping device. After removing the insulation, check by inserting the cable
into the barrel to make sure the insulation is snug against the top of the barrel.
3. Next, secure the battery terminal in a vise. Make sure that the offset portion of the barrel is facing you.
4. Place the proper solder pellet into the barrel of the terminal.
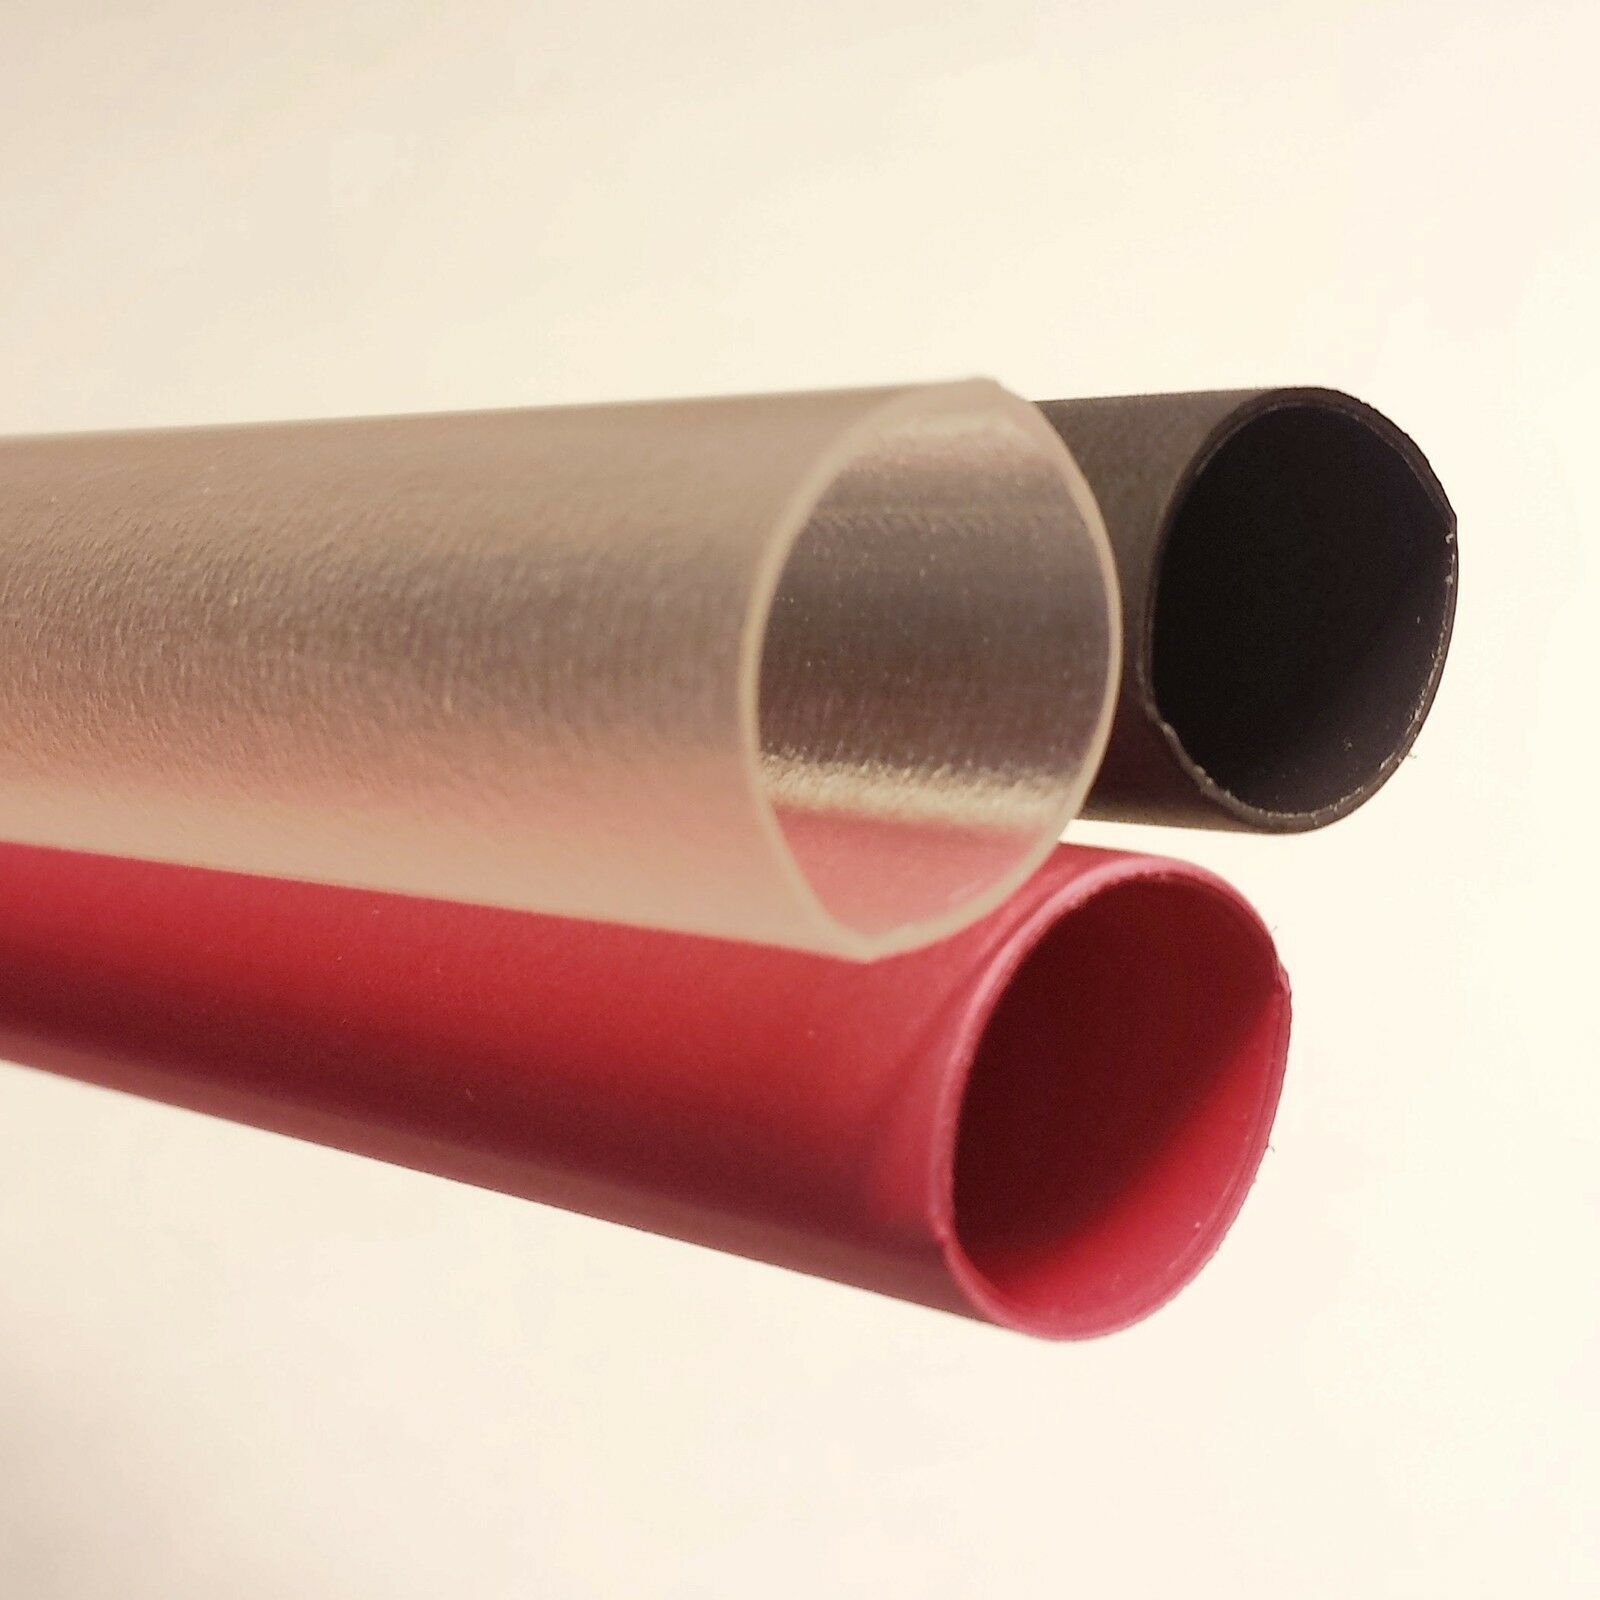
5. Slide the heat shrinkable tubing over the cable.
6. Apply several drops of the liquid flux to the exposed wire strands.
7. Pre-heat the solder and terminal with a propane torch according to the Preheating Time Table.
Make sure that you are heating the offset portion of the terminal barrel.
8. After pre-heating, carefully insert the exposed cable into the barrel of the terminal and continue to heat.
9. As the solder melts, allow the exposed wire strands to sink into the terminal until the insulation is snug
against the top of the barrel.
10. Slide the heat shrinkable tubing over the connection and apply indirect heat to the tubing.
11. When the tubing has fully recovered, remove the heat source and allow the connection to cool.
Preheating Time Table
Part# Time(sec)
CL-6 0:06
CL-4 0:06
CL-2 0:09
CL-1 0:15
CL-0 0:11
CL-00 0:13
CL-000 0:15
CL-0000 0:30


